
As I type this and upload photos of the the assembly I want to run a lay down on what you need.
- Wood, preferably cedar and or pine due to the easiness and the avability of the lumber.
- Wood glue, much simpler and easier to use and the risk of nailing you hand to the piece is vastly reduced.
- Shellac, sealant against water damage and water stains.
- Sandpaper, just smooth out those rough spots of dried shellac and to smooth the wood before you stain.
- Wood Stain, to color the wood and show prominence of the grain.
- Drill Press, to create the depressions that will help keep the pipes in place. You want the drills bits that one eighths of an inch.
- Wax, To give the finish piece that beautiful shine, and it show's off the grain to perfection.
- A Table Saw or Circular Saw, to cut the wood.
- A Router, to shape and give the wood some decor, but that isn't too important so don't worry.
- Drill bits, ranging from 1/8" to 3/4" to determine the size of both the depressions
- A File, to expand the area where we are propping up the pipes.
- A Clamp, to keep the wood in place.
- A ruler, to make straight lines, despite the fact it is alright to be a gay line. Also you will use this to measure the thickness of the wood.
Okay now we have the materials that we need to make a pipe rack. I want to stress that we are not striving on decor. So if it is ugly as hell but functions as it should, then good, it is a success.
Step 1: You want to take a 4x8 piece of wood, that's an inch thick, and cut in half, from the width. Then take one of the half's and cut it again in half, again from the width, you then take that fourth piece and cut it in half. Then you take one of those eighth pieces or 1x8 and use that as your base for your pipe rack.
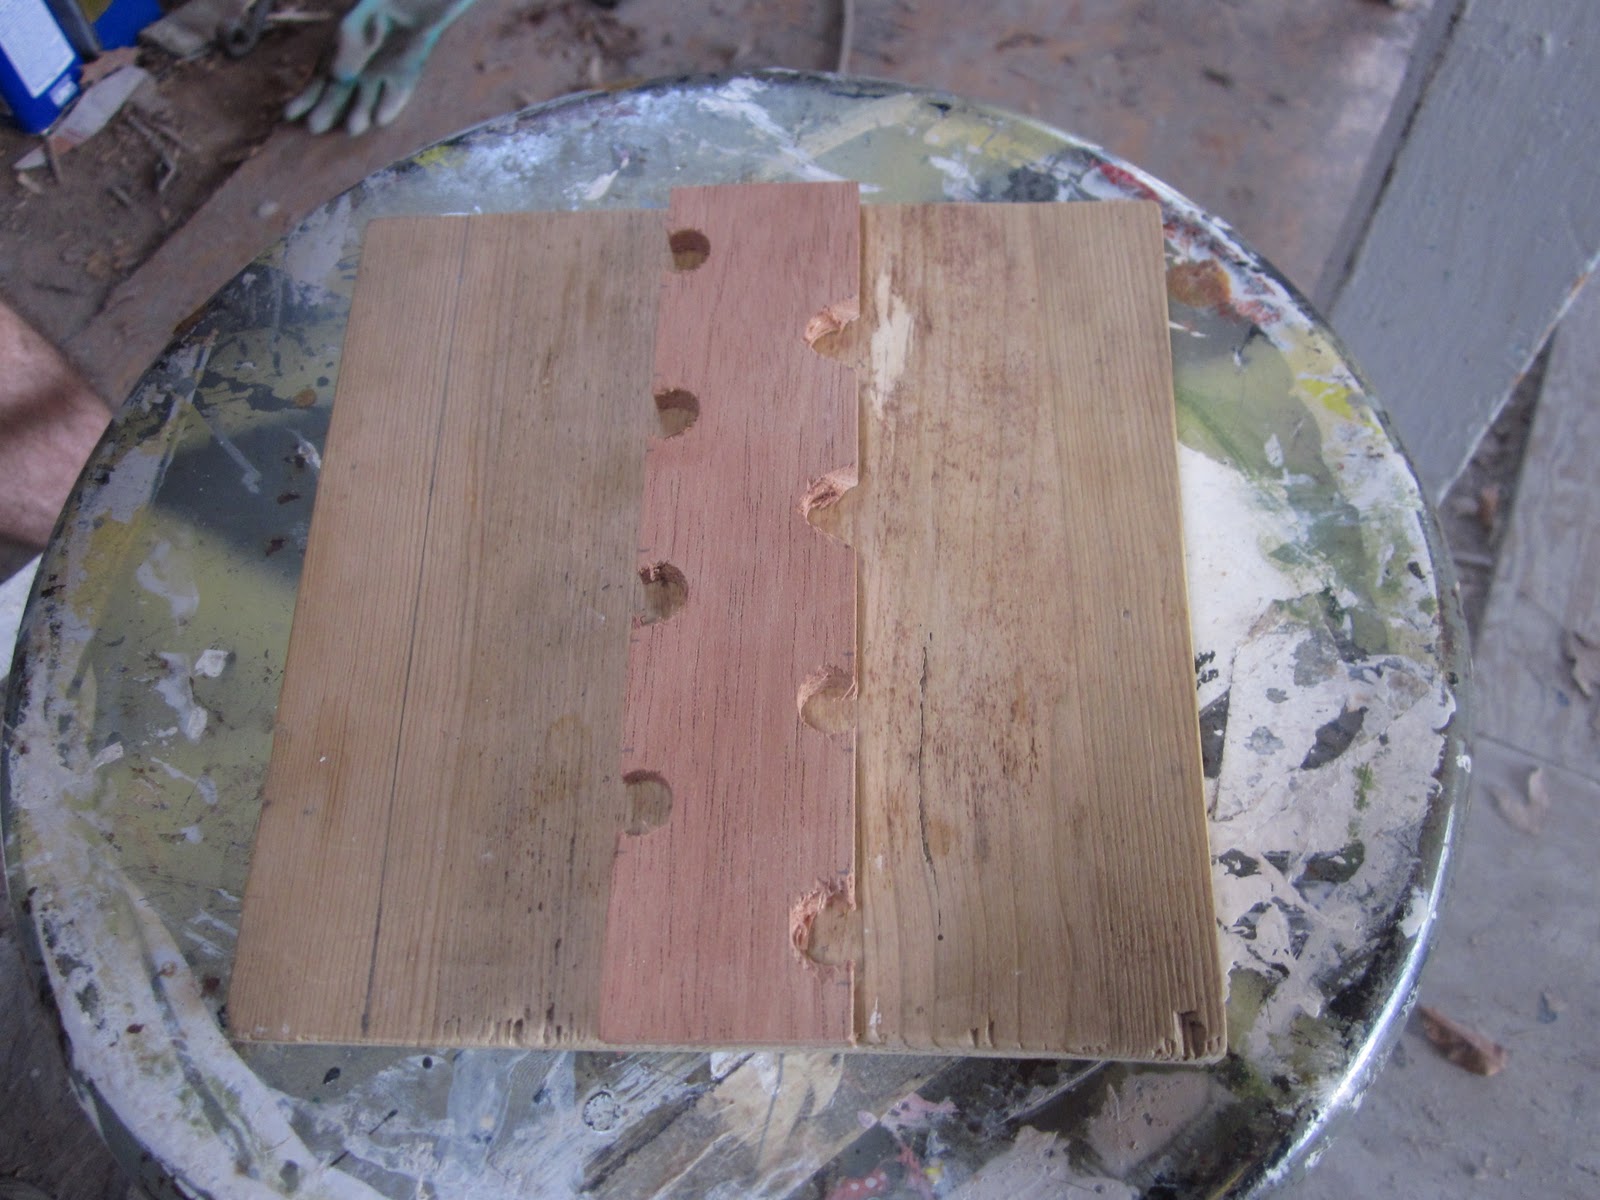
Step 2: You then want to take another piece of wood and cut it so that it should be the same length as the base. With the width at least be 1" and a 1/3" thick. Then you want to drill eight holes, four on each side about three centimeters from the edge of the wood and an inch apart. Then you want to use a 3/4" drill bit and marking the wing tips and the center with a pencil. This will designate where you are going to drill. Then you want leave about an inch of space between each
Now you want to drill to the same pattern in picture to conserve space and reduce the risk of destroying your piece.
Now that you have your pattern the same or similar to the pic. You want to take a drill bit somewhat smaller than a 3/4" drill bit and drill a small hole, then take a 3/4" and drill it into the small hole.
Note: You want to drill at a ninety degree angle, because if you don't you'll screw up and have to repeat step 2. Not to mention that the wood will crack and splinter if you drill less than ninety degrees.
Step 3: Next you need to cut a wider piece, with the length of the base. With the width of 1 1/2" to 2". Then you'll want move on to step 4.
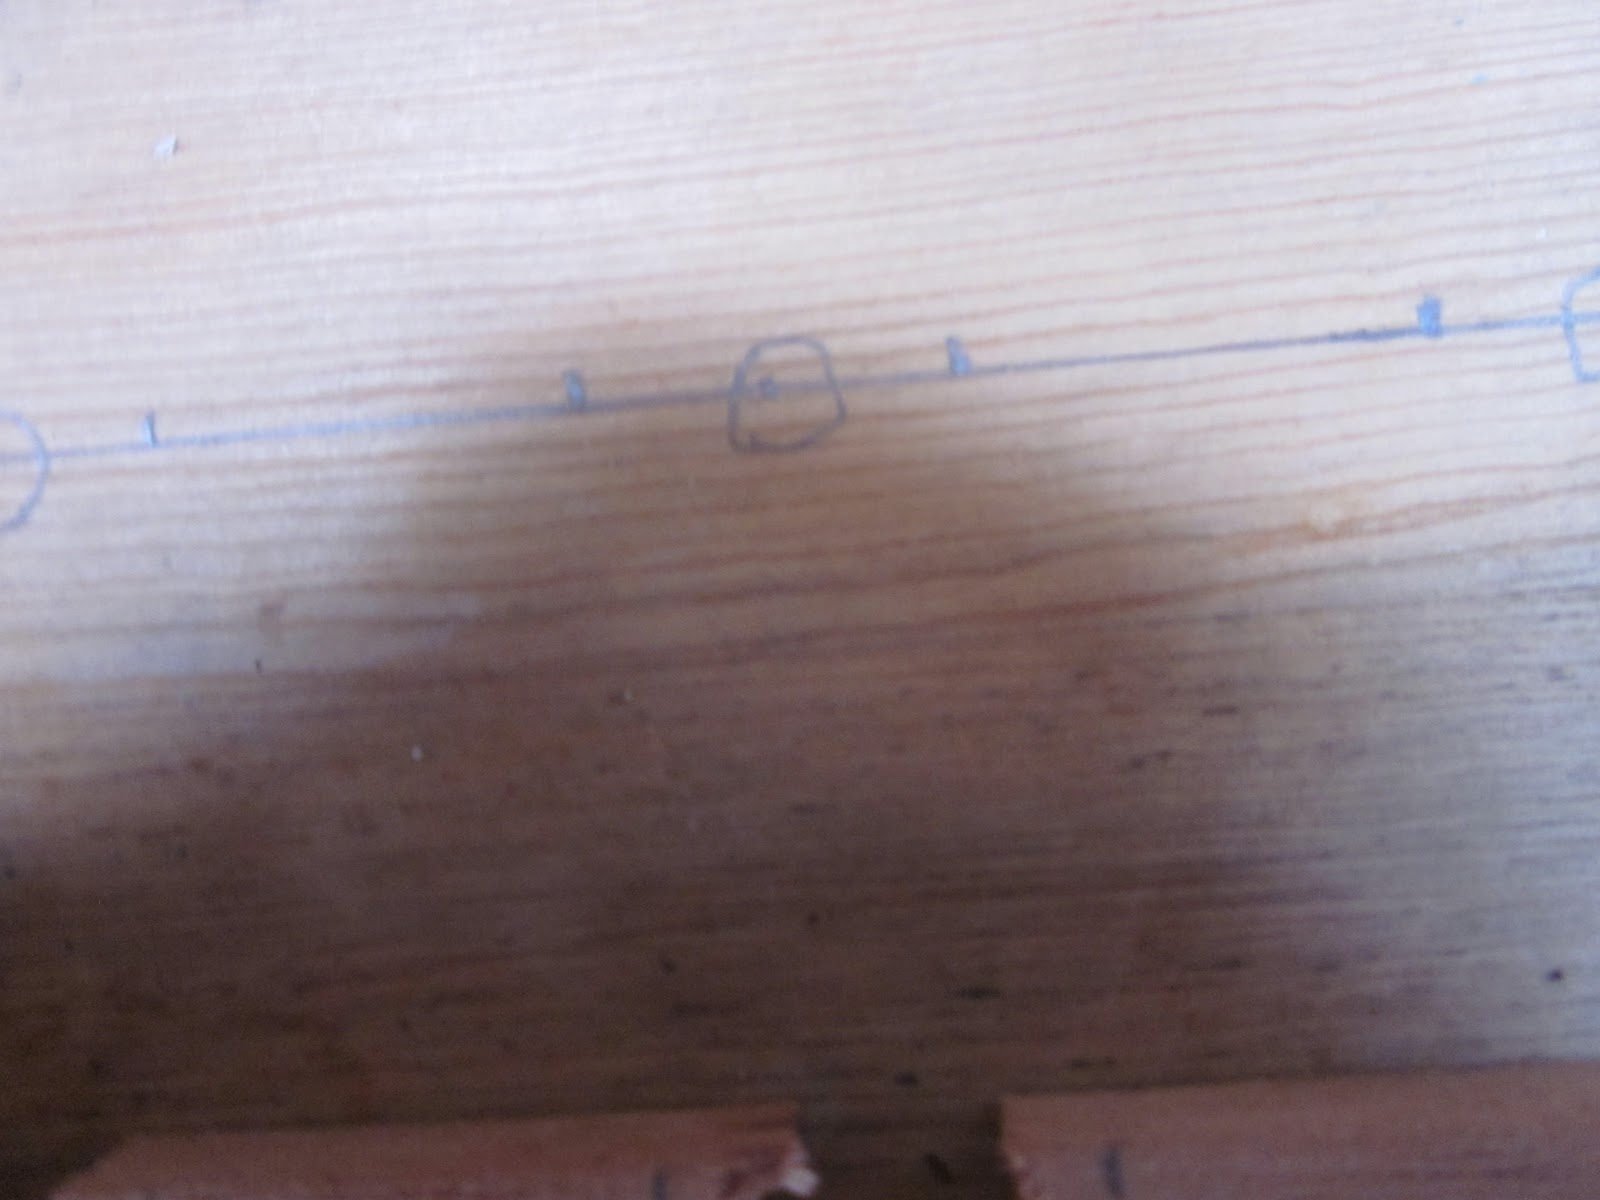
Step 4: Now that Step 2 is done, lets move on. Like the picture on the right, you'll see a line with twelve dots corresponding with the piece of wood. That hold up your pipes. These dots will indicate where you will make your depressions.
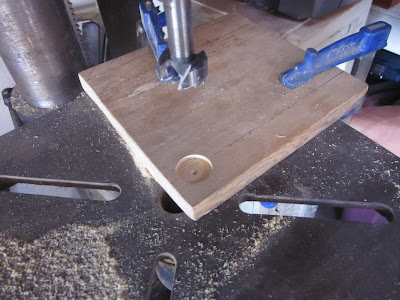
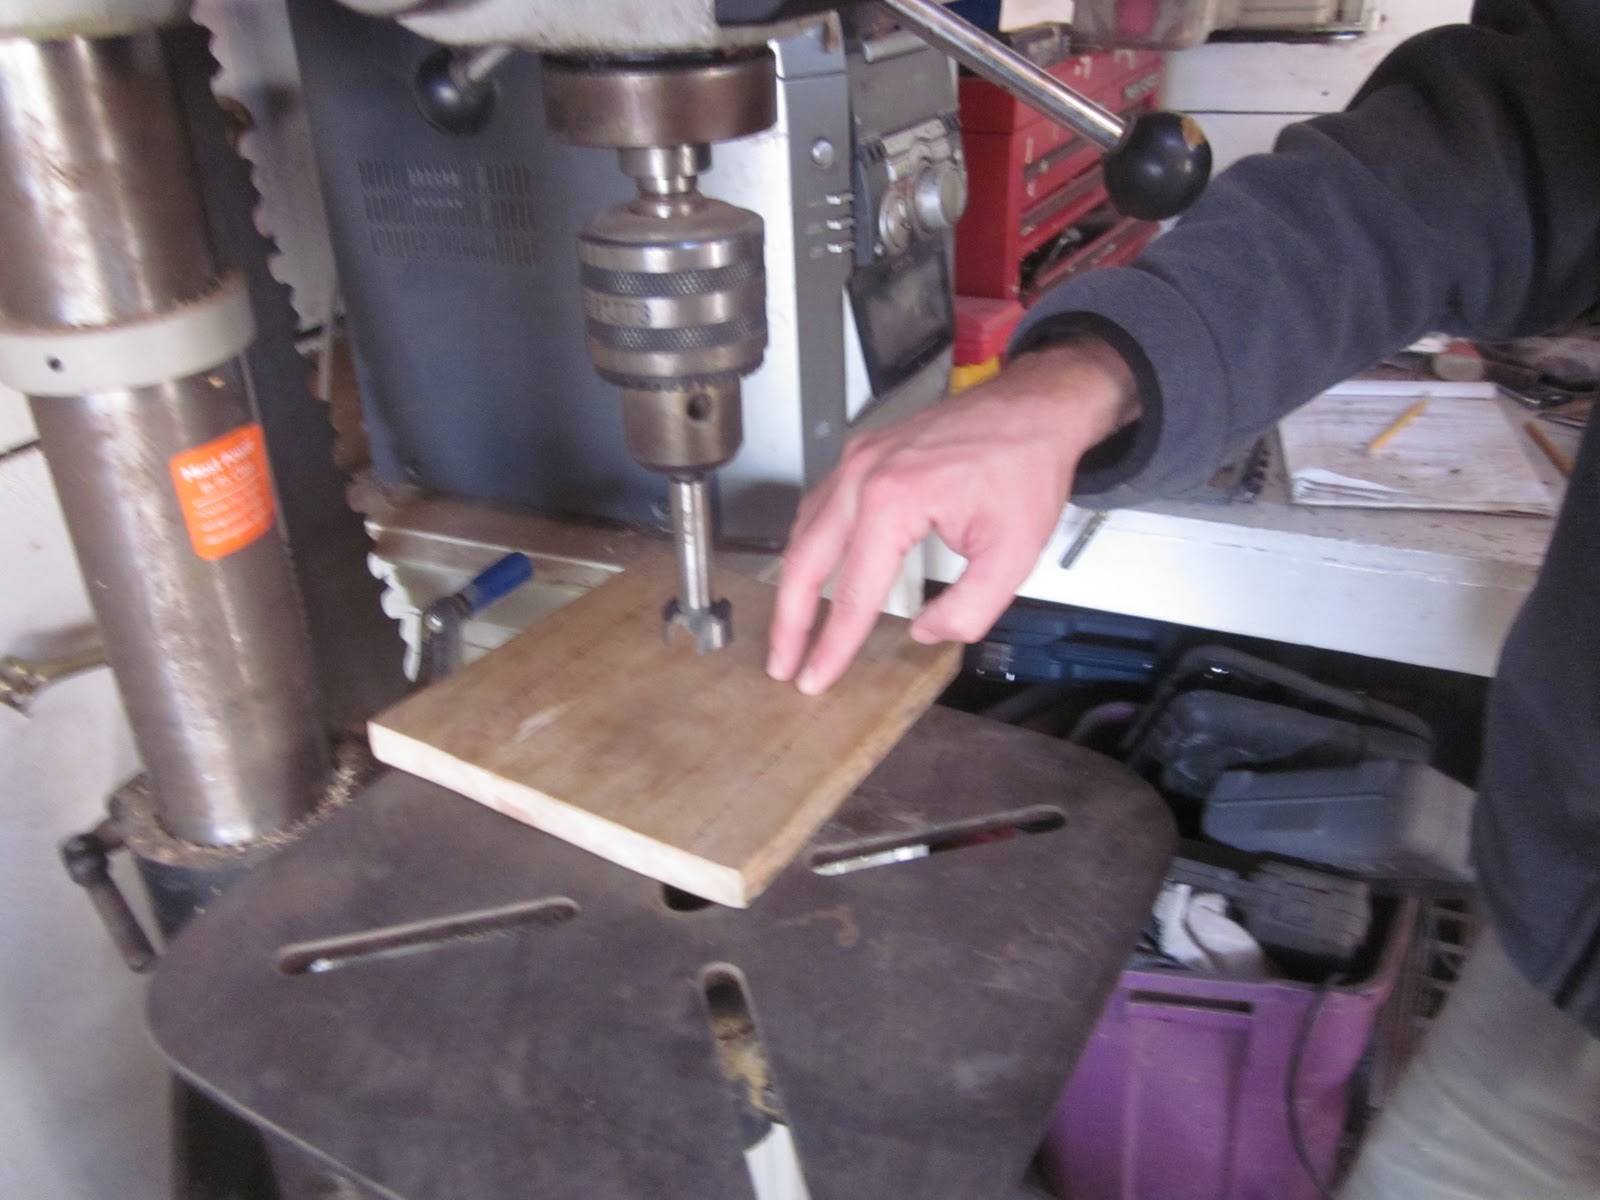
Step 5: Now with the lines and circles on the base. You'll want to take the base to a drill press for two reasons:
Reason number 1, much more stable than a drill. Reason number 2, you'll need be drilling at 90º angle or else your going just sending splinters into the air and you'll lose an eye.
Then you want to align the center of the drill with the center dot, without turning the drill on. Only after you have the base and drill aligned you want clamp it, so it won't move when you drill.
After you clamp the wood down, which may be a little difficult. Then you want to the drill about a sixth of an inch, so scoot up there. When you start up the drill, you want to bring it down slowly, because you can screw up with fast speed.
So when you stop for the very first to inspect the aftermath don't be surprised when you see a circle depression with a tiny hole in the middle. Such as the pic in the bottom middle.
Note: I do not know what is the diameter of the drill bit but if I had to guess I would say close to 3/4" of an inch. But if you do know I would appreciate it if you do share the information.
 Step 6: Now that you should be about half way done, with drilling the base. If you are you should always be aligning the central dot on the base with the drill or else you start back at step 1. Also always clamp the wood down so you won't risk having the base scoot around the entire drill base.
 Step 7: Now that we're halfway done, drilling depressions into the base. You now want to switch sides and repeat said process. Until you have done the same amount of depressions on the other side. Or until you have something similar in the picture next to this step.
To be Continued………………………
 |
| Just ignore the Meerschaum. But this is the general shape you want the base to be. |
 |
| This is the pattern you want to use due to the space you'll conserve. |
Now you want to drill to the same pattern in picture to conserve space and reduce the risk of destroying your piece.
Now that you have your pattern the same or similar to the pic. You want to take a drill bit somewhat smaller than a 3/4" drill bit and drill a small hole, then take a 3/4" and drill it into the small hole.
Note: You want to drill at a ninety degree angle, because if you don't you'll screw up and have to repeat step 2. Not to mention that the wood will crack and splinter if you drill less than ninety degrees.
Step 3: Next you need to cut a wider piece, with the length of the base. With the width of 1 1/2" to 2". Then you'll want move on to step 4.
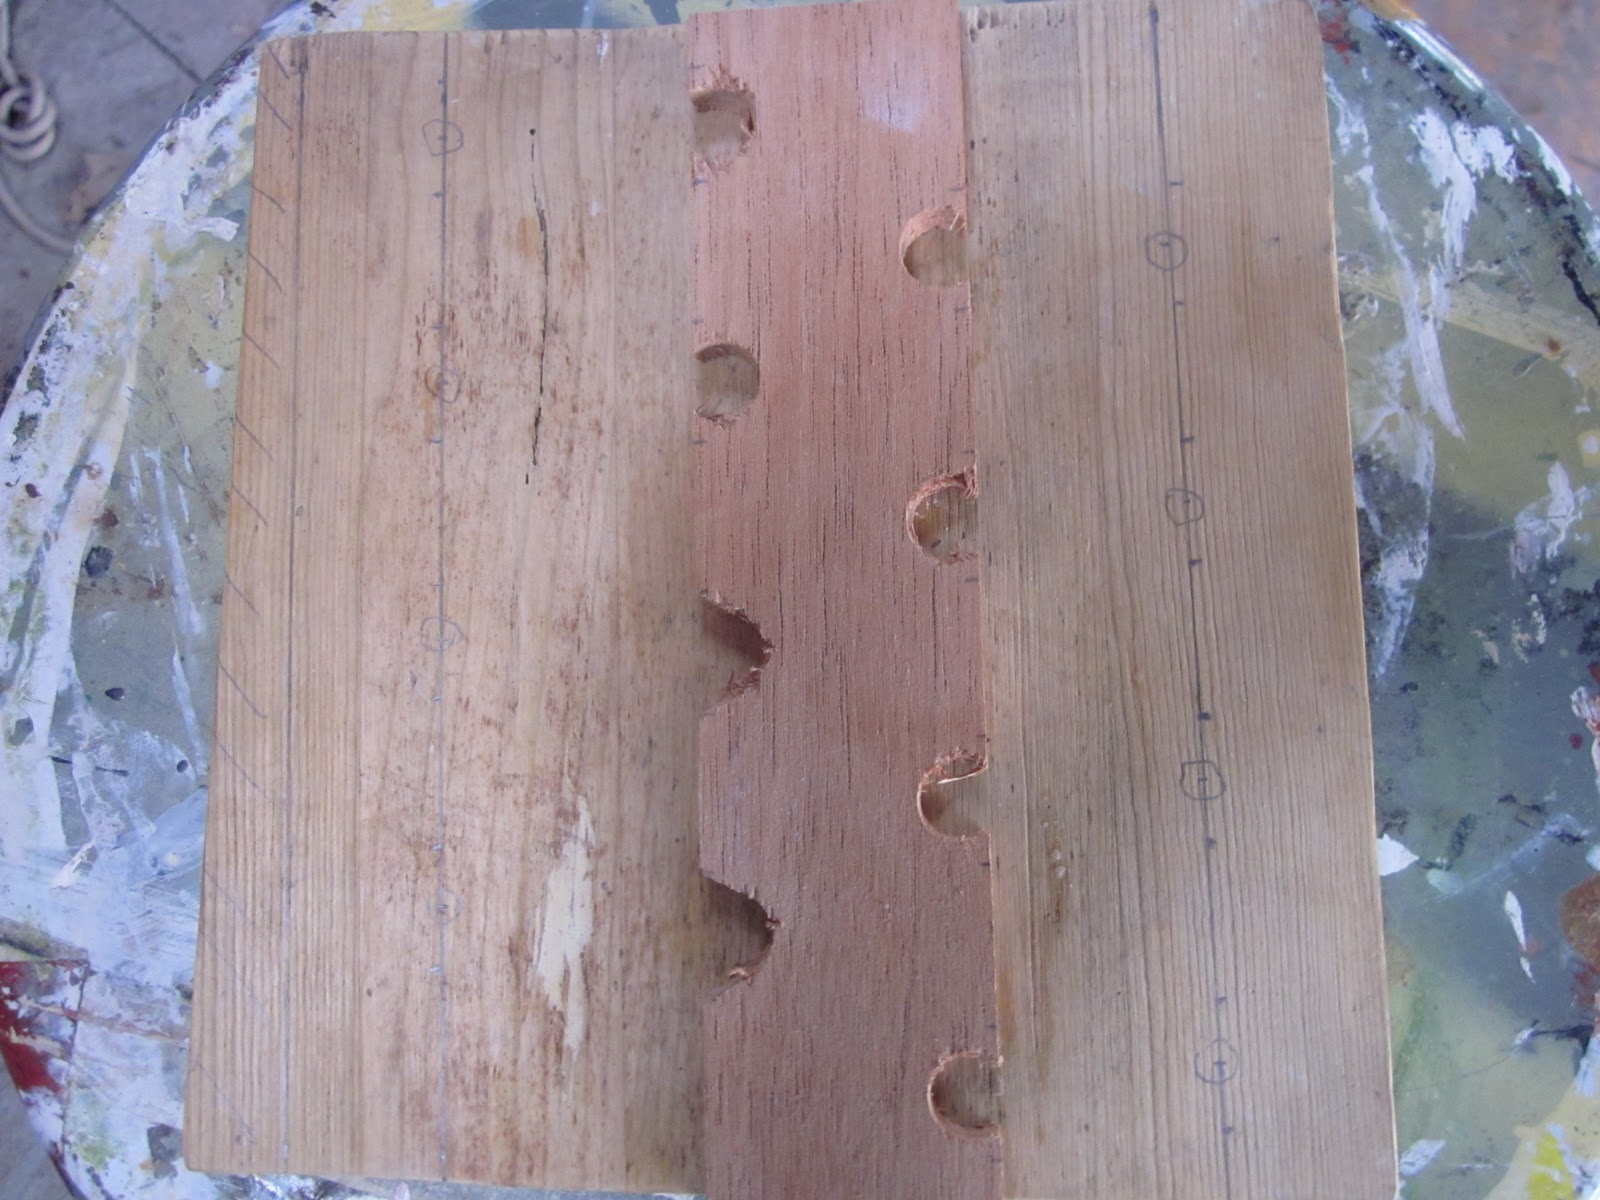 |
| If you see the dots on the line then good. You need to align the dots with the piece of wood that's going prop up your pipes. |
Because we will need a jig. To create the depressions you see in regular pipe racks. I've decided to forgo that path and use a regula
We will just drill into the areas where the dots are. For the sake of common sense you want the depressions to be aligned with the piece that will be holding up the pipe. such as in picture on the left and the one on the bottom.
NOTE: If you see the the third line with stripes, ignore it for the time being it is not important, for now.
 |
| You want to align both the line and dots on the base to the holes where the holes on the piece of wood where you are propping up your pipes. |
Step 5: Now with the lines and circles on the base. You'll want to take the base to a drill press for two reasons:
Reason number 1, much more stable than a drill. Reason number 2, you'll need be drilling at 90º angle or else your going just sending splinters into the air and you'll lose an eye.
 |
| If you know the diameter of the drill bit. Then good, I don't remember. |
Then you want to align the center of the drill with the center dot, without turning the drill on. Only after you have the base and drill aligned you want clamp it, so it won't move when you drill.
After you clamp the wood down, which may be a little difficult. Then you want to the drill about a sixth of an inch, so scoot up there. When you start up the drill, you want to bring it down slowly, because you can screw up with fast speed.
So when you stop for the very first to inspect the aftermath don't be surprised when you see a circle depression with a tiny hole in the middle. Such as the pic in the bottom middle.
Note: I do not know what is the diameter of the drill bit but if I had to guess I would say close to 3/4" of an inch. But if you do know I would appreciate it if you do share the information.


To be Continued………………………